Friday, March 5, 2021

.NET Interactive in GCP AI Platform Notebooks via a Container

In my last post, I showed how to setup F#, C#, and PowerShell within Google Cloud AI Platform Notebooks using a manual approach. Another option is to create a notebooks instance from a container that includes .NET Interactive pre-installed.

To accomplish this, do the following:

1. Enable applicable GCP APIs (Cloud Build, Artifact Registry, AI Platform Notebooks, etc.), if they are not already enabled.

2. Open the GCP Cloud Shell Terminal.

3. In Cloud Shell, create a file named Dockerfile (e.g. nano Dockerfile), copy/paste the following into the file, and save.

# Specifies base image and tag
FROM gcr.io/deeplearning-platform-release/base-cpu:latest
ENV \
# Enable detection of running in a container
DOTNET_RUNNING_IN_CONTAINER=true \
# Enable correct mode for dotnet watch (only mode supported in a container)
DOTNET_USE_POLLING_FILE_WATCHER=true \
# Skip extraction of XML docs - generally not useful within an image/container - helps performance
NUGET_XMLDOC_MODE=skip \
# Opt out of telemetry until after we install jupyter when building the image, this prevents caching of machine id
DOTNET_INTERACTIVE_CLI_TELEMETRY_OPTOUT=true
# Installs .NET Interactive
RUN wget https://packages.microsoft.com/config/ubuntu/16.04/packages-microsoft-prod.deb -O packages-microsoft-prod.deb
RUN dpkg -i packages-microsoft-prod.deb
RUN apt-get update
RUN apt-get install -y dotnet-sdk-3.1
RUN dotnet tool install -g --add-source "https://pkgs.dev.azure.com/dnceng/public/_packaging/dotnet-tools/nuget/v3/index.json" Microsoft.dotnet-interactive --version 1.0.155302
ENV PATH="$PATH:~/.dotnet/tools"
RUN echo $PATH
RUN dotnet interactive jupyter install
# Enable telemetry once we install jupyter for the image
ENV DOTNET_INTERACTIVE_CLI_TELEMETRY_OPTOUT=false
EXPOSE 8080
view raw Dockerfile hosted with ❤ by GitHub

4. Build the container with a command such as the following (Note: Replace the “REPLACE_WITH_PROJECT_ID” placeholder with your GCP Project ID):

gcloud builds submit --tag gcr.io/REPLACE_WITH_PROJECT_ID/interactive/dotnet-interactive:latest
view raw gistfile1.txt hosted with ❤ by GitHub

5. Create a new Notebooks instance via gcloud or the AI Platform Notebooks console. Note: Replace the “REPLACE_WITH_PROJECT_ID” placeholder with your GCP Project ID.

gcloud beta notebooks instances create dotnet-interactive-docker \
--container-repository=gcr.io/REPLACE_WITH_PROJECT_ID/interactive/dotnet-interactive \
--container-tag=latest \
--machine-type=n1-standard-4 \
--location=us-central1-b
view raw gistfile1.txt hosted with ❤ by GitHub

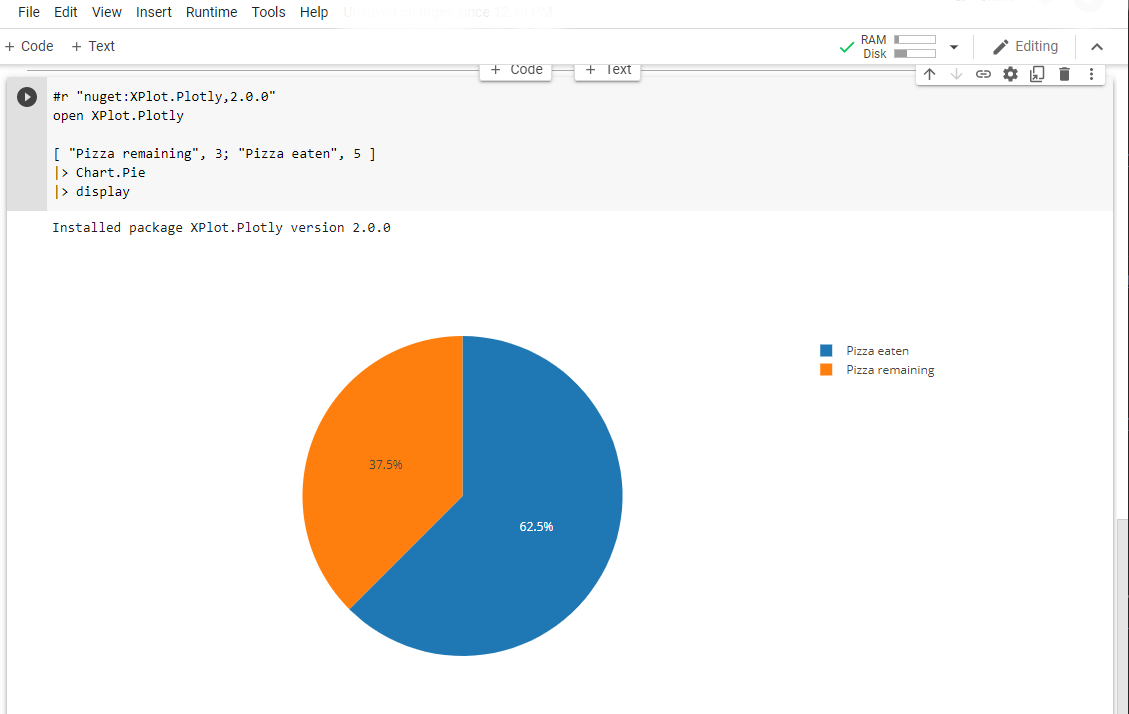
6. Once the notebook instance is created, open JupyterLab and F#, C#, & PowerShell options will be available.


Monday, February 15, 2021

F# on GCP AI Platform Notebooks

In my last post, I showed how to use F# in Google Colab via installation of .NET Interactive. 

Today I'll walk you through how to wire up .NET Interactive within Google Cloud AI Platform Notebooks. AI Platform Notebooks provides secure, managed JupyterLab instances. This combined with .NET Interactive enables a first class experience in AI Platform Notebooks for F#, C#, and PowerShell.

Setting up GCP AI Platform Notebooks

1. Log into Google Cloud Console and open AI Platform (Unified)

2. Select Notebooks in the left nav

3. Create a new instance with Python 3 as the base.


4. Once the instance creation process finishes, click the OPEN JUPYTERLAB button.


5. Open a terminal from the Launcher.


6. In the terminal, run the following to install the .NET SDK:

wget https://packages.microsoft.com/config/ubuntu/16.04/packages-microsoft-prod.deb -O packages-microsoft-prod.deb
sudo dpkg -i packages-microsoft-prod.deb
sudo apt-get update;
sudo apt-get install -y dotnet-sdk-3.1
view raw install_net_sdk hosted with ❤ by GitHub

7. Now install .NET Interactive with the following:

dotnet tool install -g --add-source "https://pkgs.dev.azure.com/dnceng/public/_packaging/dotnet-tools/nuget/v3/index.json" Microsoft.dotnet-interactive --version 1.0.155302
export PATH=$PATH:$HOME/.dotnet/tools
dotnet interactive jupyter install

8. Close the terminal window and JupyterLabs.

9. In GCP AI Platform Notebooks, reset the instance.


Launching .NET Notebooks

Now that the initial setup steps are complete, the launcher in JupyterLab will include F#, C#, and PowerShell notebook options.


A simple F# Notebook example is below:


Sunday, February 7, 2021

F# in Google Colab Notebooks

.NET Interactive

.NET Interactive is a tool provided by Microsoft which among other things makes it easy to use .NET (C#, F#, and PowerShell) in Jupyter Notebooks.

Google Colab

Google Colab is a free, cloud hosted Jupyter notebook environment that includes access to GPUs. The Colab environment provides kernels for R, Python 2, Python 3, and Swift by default.

F# on Colab

Colab doesn't currently offer a streamlined option for adding additional kernels. However, enabling .NET via .NET Interactive is relatively easy to accomplish.

1. In Colab upload an IPython Notebook (*.ipynb) file that includes the kernelspec set to ".net-fsharp"


2. Execute code to install the .NET SDK and .NET Interactive. Wait for all steps to complete. Note: A message will appear indicating that .net-fsharp is an unrecognized runtime. This can be ignored.

3. In the Colab File menu, select "Runtime" -> "Change runtime type" then "Save" on the resulting popup window.

4. You can now execute F# in new code cells. 


A Gist with the full example is below:


Loading
Sorry, something went wrong. Reload?
Sorry, we cannot display this file.
Sorry, this file is invalid so it cannot be displayed.

Sunday, November 30, 2014

Evolution of the F# Empty WPF Template

Back in March 2012, I announced that the F# Empty WPF project template had been enhanced to include a type provider from the FSharpx type providers collection. Today, another evolution of the F# Empty WPF template has occurred. The FSharpx.TypeProviders.Xaml type provider has been replaced with Reed Copsey's FsXaml for WPF type provider.

Building a Simple Example:

It's very easy to get started with the latest version of the template as well as FsXaml. Here the steps to create an overly simple example with the new version of the template, FxXaml and FSharp.ViewModule.Core (which is also inclueded in the template):

1. Create a new project with the latest version of the F# Empty Windows App (WPF) template.
2. Build the project and Enable the type provider when requested to do so. You can now run the project, which at this point simply displays a blank screen.
3. Open the MainWindow.xaml.fs file and replace the contents with the following:

namespace ViewModels
open System
open System.Windows
open FSharp.ViewModule
open FSharp.ViewModule.Validation
open FsXaml
type MainView = XAML<"MainWindow.xaml", true>
type MainViewModel() as self =
inherit ViewModelBase()
let name = self.Factory.Backing(<@ self.Name @>, "")
let display = self.Factory.Backing(<@ self.Display @>, "")
let goCommand = self.Factory.CommandSyncParam(fun param -> self.Display <- sprintf "Your Name Is: %s" param)
member x.Name with get() = name.Value and set value = name.Value <- value
member x.Display with get() = display.Value and set value = display.Value <- value
member x.GoCommand = goCommand
view raw gistfile1.fs hosted with ❤ by GitHub

4. Open the MainWindow.xaml file add the following to the Grid element:

<Grid.RowDefinitions>
<RowDefinition Height="Auto" />
</Grid.RowDefinitions>
<Grid.ColumnDefinitions>
<ColumnDefinition Width="300"/>
<ColumnDefinition Width="50"/>
</Grid.ColumnDefinitions>
<TextBlock Margin="5" Text="Enter Your Name:" FontSize="16" Grid.Row="0" Grid.ColumnSpan="2" />
<TextBox Margin="5" Grid.Row="1" Grid.Column="0" FontSize="16" Text="{Binding Name}"/>
<Button Margin="3" Grid.Row="1" Grid.Column="1" FontSize="16" Content="Go"
Command="{Binding GoCommand}" CommandParameter="{Binding Name}"/>
<Label Foreground="Gray" Margin="5" Grid.ColumnSpan="2" Grid.Row="2"
FontSize="16" Content="{Binding Display, Mode=OneWay}"/>
view raw FsXamlExXaml.fs hosted with ❤ by GitHub

After this change, the MainWindow.xaml file will look something like the following with one small different depending on what you named your project:

<Window
xmlns="http://schemas.microsoft.com/winfx/2006/xaml/presentation"
xmlns:x="http://schemas.microsoft.com/winfx/2006/xaml"
xmlns:local="clr-namespace:ViewModels;assembly=FsEmptyWindowsApp1"
xmlns:fsxaml="http://github.com/fsprojects/FsXaml"
Title="MVVM and XAML Type provider" Height="200" Width="400">
<Window.DataContext>
<local:MainViewModel/>
</Window.DataContext>
<Grid>
<Grid.RowDefinitions>
<RowDefinition Height="Auto" />
</Grid.RowDefinitions>
<Grid.ColumnDefinitions>
<ColumnDefinition Width="300"/>
<ColumnDefinition Width="50"/>
</Grid.ColumnDefinitions>
<TextBlock Margin="5" Text="Enter Your Name:" FontSize="16" Grid.Row="0" Grid.ColumnSpan="2" />
<TextBox Margin="5" Grid.Row="1" Grid.Column="0" FontSize="16" Text="{Binding Name}"/>
<Button Margin="3" Grid.Row="1" Grid.Column="1" FontSize="16" Content="Go" Command="{Binding GoCommand}" CommandParameter="{Binding Name}"/>
<Label Foreground="Gray" Margin="5" Grid.ColumnSpan="2" Grid.Row="2" FontSize="16" Content="{Binding Display, Mode=OneWay}"/>
</Grid>
</Window>
view raw gistfile1.xml hosted with ❤ by GitHub

For additional examples checkout the demos in the FsXaml GitHub repo.

Sunday, November 2, 2014

New Project Templates in the F# MVC 5 Package

There is a new version of the F# MVC 5 VSIX that contains two new templates (built by Ryan Riley) to get you started with web projects built on Owin and Katana: Web API 2.2 and Katana 3.0 and Web API 2.2 and Katana 3.0 (Empty).

To use these new templates, simply install the latest version of the package and create a new project.


Monday, July 14, 2014

Improvements to the F# Web Templates


There has been quite a bit of activity with various F# web templates over the last few months. This post will cover several of these activities.

ServiceStack Templates:

Kunjan Dalal and I have released version 2 of the ServiceStack templates. This version includes 4 new templates that target version 4 of ServiceStack. You can find the latest at http://visualstudiogallery.msdn.microsoft.com/278caff1-917a-4ac1-a552-e5a2ce0f6e1f.

MVC 5 Templates:

There are now 2 new "empty" templates available in the latest release of the package available at http://visualstudiogallery.msdn.microsoft.com/39ae8dec-d11a-4ac9-974e-be0fdadec71b. There have also been several fixes and enhancements provided by various members of the F# community.

- Patrick McDonald improved the default serialization of the MVC5 and Web API templates so that an "@" character is no not appended to the end of JSON property names.
- Functionality has been added to appropriately handle cancellation of a template creation request
- The necessary changes have been made to allow NuGet restore to work for projects created from this template

Web Item Templates: 

Last but not least, the Web Item Templates have been enhanced to support Visual Studio Express 2013 for Web.

Monday, April 21, 2014

F# Support for Web Projects

In December of last year, I announced a few templates that made it easy to create pure-F# MVC 5 and Web API 2 projects in Visual Studio 2012 and 2013. In a parallel stream, the F# team was working closely with the F# community to improve the F# web development experience by adding features such as publish-to-web. It's exciting to see that this great work is now available as a Visual F# Tools Preview. You can read more about this at http://blogs.msdn.com/b/fsharpteam/archive/2014/04/06/towards-web-project-support-in-the-visual-f-tools.aspx. This, as well as the recent announcement regarding the acceptance of contributions to the Visual F# Tools, is a huge step forward in the evolution of web development with F#.